Everyone knows Apple Watch is an excellent health and fitness companion. But did you know it’s also handy for taking selfies? That’s thanks to Apple Watch’s best kept secret: the Camera Remote app.
This indispensable watch app will raise your selfie game, enabling you to take more flattering shots, with better compositions, more interesting poses and much, much more.
I use it all the time to take photos for Cult of Mac, and I’ve learned a few tricks along the way. So here’s my definitive guide to taking better selfies with Apple Watch.
This post contains affiliate links. Cult of Mac may earn a commission when you use our links to buy items.
How to use Apple Watch’s Camera Remote app for better selfies
Photo: Graham Bower/Cult of Mac
The trouble with taking selfies
Taking selfies isn’t easy. It’s almost impossible to hold the iPhone far enough away to take a good shot. Your arms are just too short. Holding the camera so close to your face creates a weird perspective that makes your nose look big. It’s also hard to get your whole body in the picture.
And then there’s the front-facing camera. Apple made big improvements to it over the years — and it supposedly will get a major hardware upgrade in iPhone 14 — but it’s still not as good as the rear camera. It’s frustrating to know you could have taken a much better picture if only you could have turned the phone around.
Selfie sticks give you extra distance, but you still end up using the front-facing camera. (Plus, selfie sticks are a pain to carry around.) A better alternative is to use something you already take everywhere with you: your Apple Watch.
Turn your Apple Watch into the camera remote you didn’t know you needed
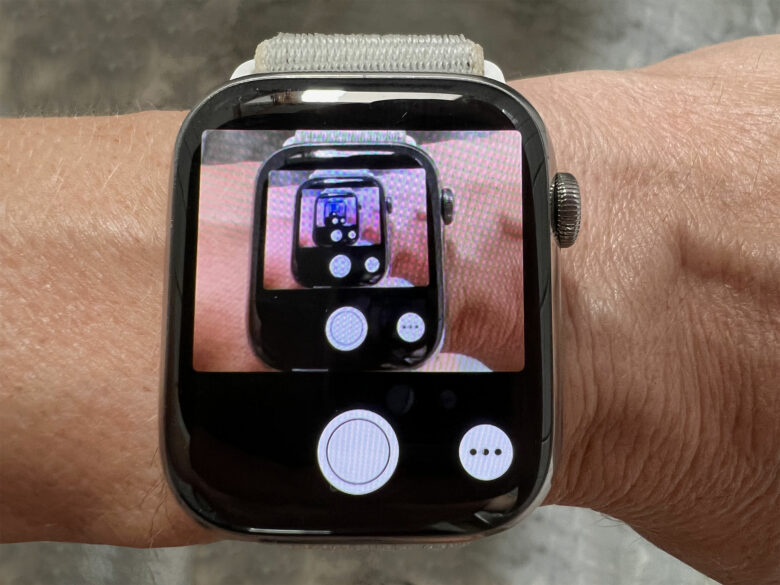
As its name suggests, the Camera Remote app enables you to control your iPhone camera remotely. You can adjust settings, check the viewfinder and press the shutter button, all from your wrist.
It’s easy to use, but it does have some quirks that take a bit of getting used to.

Photo: Graham Bower/Cult of Mac
The Camera Remote app is kinda quirky
When you launch the Camera Remote watch app, there’s a slight delay while it connects to the Camera app on your iPhone. Sometimes this works, but often it doesn’t, stalling on a blank screen.
The most reliable way to avoid this is to do two things before you open the Camera Remote app on your Apple Watch:
- Unlock your iPhone.
- Make sure the Camera app is not already running.
The Camera Remote watch app should launch the Camera iPhone app automatically. It’s best to let it do this, rather than opening both apps yourself.
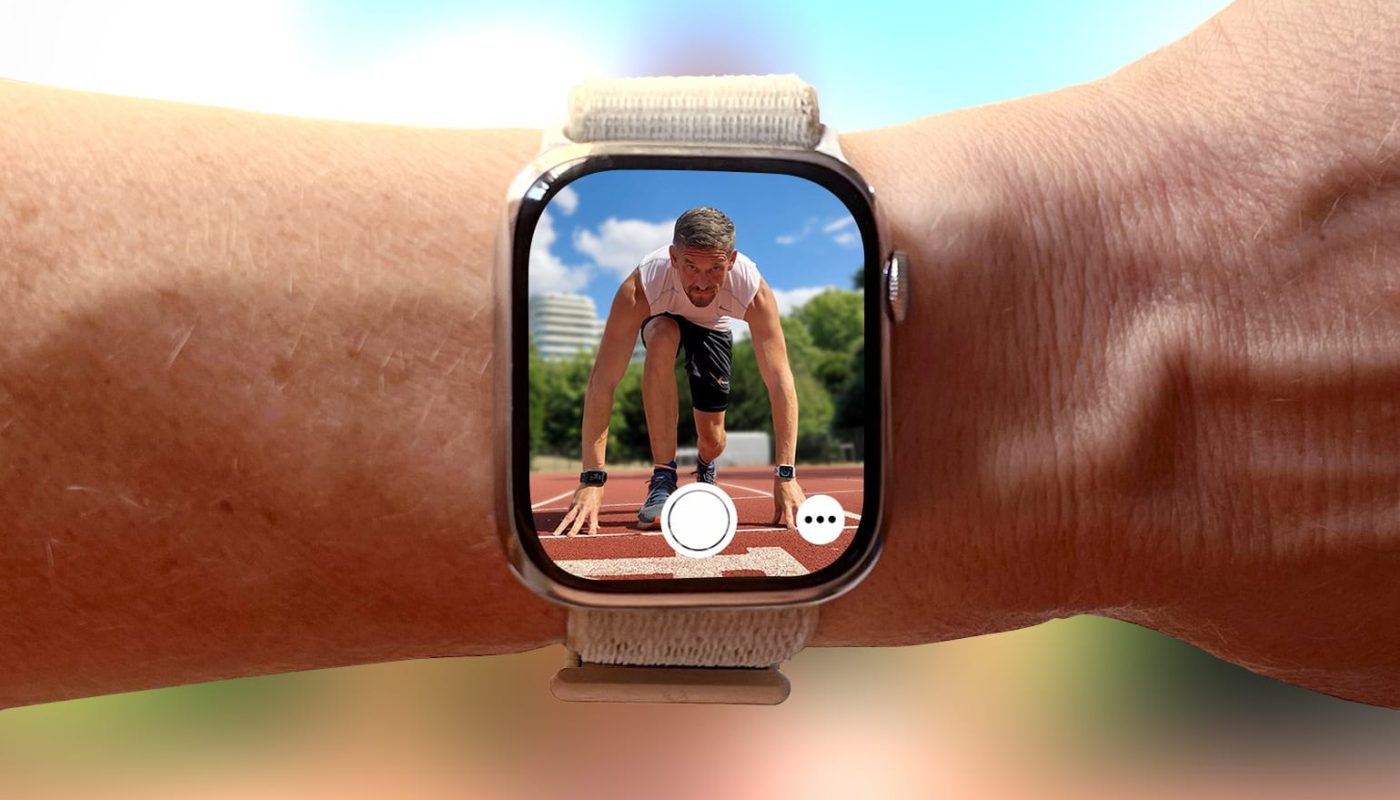
Once the connection is established, you should see the view from your iPhone’s camera, right there on your wrist. Which is pretty neat. If you just see a blank screen, press the Digital Crown to return to the watch face. Check to make sure that your iPhone is unlocked and the Camera app isn’t open, then try again.
How to use the Camera Remote app
The layout of the Camera Remote app is similar to the Camera app on iPhone. Most of the screen is taken up by the viewfinder. There’s a big, white, circular shutter button at the bottom. To the right of the shutter button, there’s a smaller ellipsis (…) button. Tap on this for more options. Here, you can switch between front and rear cameras, and enable Live Photos, Flash and HDR mode. There’s also an option for a Three-Second Timer — more on that later.
Just like the iPhone Camera app, you can tap on areas of the screen to optimize the lighting and focus for that part of the image. You also can use the watch’s Digital Crown to zoom in and out.
There are more controls on your iPhone
The Camera Remote app doesn’t give you access to all the controls. There are more options that are only accessible in the Camera app on your iPhone.
One that’s especially relevant to selfies is the wide angle option on the front-facing camera. Just tap the double-arrows icon at the bottom of the screen to reveal more of the image (on iPhone 11 or later).
Portrait Mode (on iPhone X or later) and video mode also must be enabled on your iPhone if you want to use them. But once you switch to video mode, you can use the Camera Remote app to pause and record video.
Finding the right angle for the perfect selfie

Photo: Graham Bower/Cult of Mac
Once you’ve picked all the right settings, you’ll need to get your iPhone into position to take the shot. I’ve tried leaning it against a wall on the sidewalk, propping it up on a bench and even balancing it in the branches of a tree. Whatever you do, make sure you have a good iPhone case to protect it from scratches. And check to make sure there’s no one around who could steal it.
Resting your iPhone on the sidewalk can produce some pretty eye-catching perspectives. But for a more natural-looking shot, you need to raise your iPhone to eye level. For this, I use a Joby GorillaPod stand. This handy accessory features flexible tripod legs that can wrap around almost anything. It also has strong magnets for attaching to metal surfaces. It’s so light and compact, I can easily take it with me on a workout.
(Alternatively, you could try the Pixy, SnapChat’s new drone designed specifically for taking selfies. It literally floats in the air to find the perfect angle. But since it has an integrated camera, you can’t use it with the Apple Watch Camera Remote.)

Photo: Graham Bower/Cult of Mac
Now you’re ready to take the shot
When your iPhone is in position, the final step is to actually take the shot.
Use the viewfinder in the Camera Remote app to make sure you’re looking your best. Then fine-tune the framing. If your iPhone’s orientation is portrait, the top and bottom of the viewfinder image will be cropped off on your watch display. In landscape mode, you will see the whole image with black bars at the top and bottom.
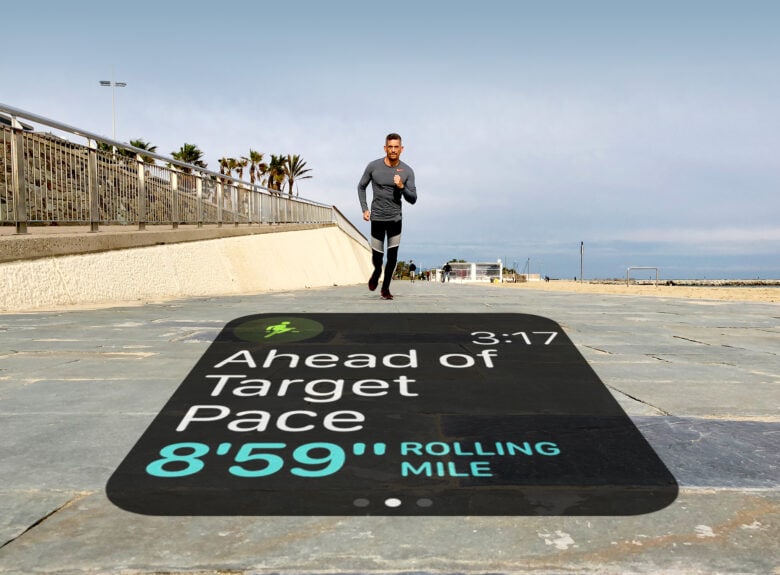
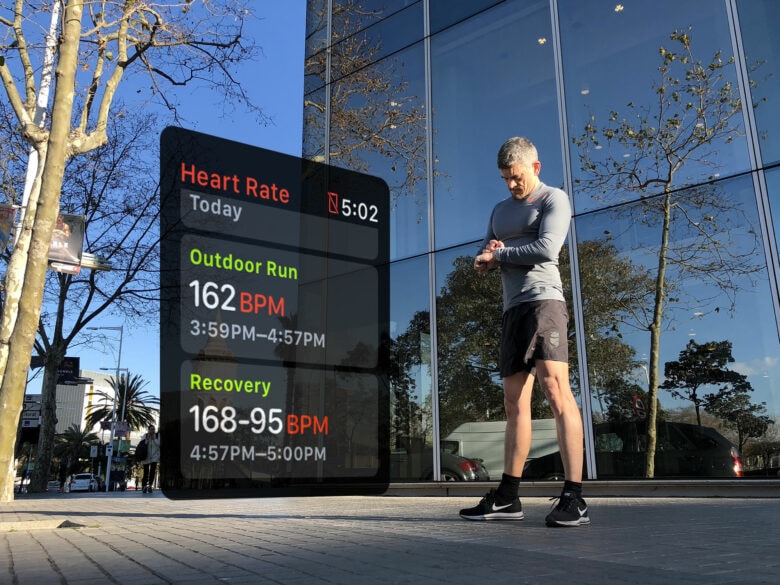
Then, enable the Three-Second Timer, so you’re not looking at your watch when you take the shot. Delaying the shot for three seconds gives you just enough time to look up and smile. I don’t use the timer when I’m taking shots to illustrate Cult of Mac articles because I’m supposed be looking at the screen. So, in shots where I appear to be checking my progress on the Workout app, I’m actually taking a selfie with the Camera Remote.
When you use the camera with the timer enabled, the flash on your iPhone will blink every half-second to give you a countdown. Then you’ll feel a haptic rumble from the Watch as the shot is taken. Wait until the rumble finishes before moving.
After that, you can check the photo you just took in the Camera Remote app. Just tap on the small square that appears in the bottom-left corner of the screen. Use the Digital Crown to zoom in for more detail if you like.
Put yourself in the picture with the Apple Watch Camera Remote app
Once you get your head around its quirks, the Apple Watch’s Camera Remote is an indispensable little app. It really is the best way to take selfies with your iPhone. So why not give it a try, get creative, and raise your selfie game!
